


my first draft strategy
my first draft strategy
my go to strategy for how to plan a first draft
My favourite part of the book writing process is the first draft.
I think it’s because I’m still in the process of discovering the story, the underlying themes and the characters. I’m learning how the character motivations and plot points intersect, as well as experiencing the plot twists for the first time. And all those scenes I’ve been obsessively thinking about? I finally get to write them.
It’s a messy process — a delicate back and forth, a collection of challenges and triumphs that consumes every part of your creative soul — that often results in an end product that still needs a lot of reworking. It’s far from perfect. And this can be discouraging, especially the deeper you descend into a first draft. It can sometimes feel like a chore.
But I think, for me, accepting the inevitable imperfections of drafting has made it a more enjoyable process.
I spent most of February plotting a new book and then in March I wrote the first draft. The book is a dark contemporary fantasy with secret societies, demonic entities, body horror magic and a group of co-dependent magicians grieving the death of their best friend. It’s been fun to write!
But now that I’m on the other side and working on rewrites, I thought it would be helpful to put together a little guide to how I write my first drafts.
[Please note: there is no one right way to plot a book. This process works for me and has been developed with time and lots of trial and error. My hope is to give you inspiration on how to plot your own book and prepare to write your first draft.]
Step One: Prepare Scrivener Document
I’ve tried so many writing softwares, but Scrivener remains my favourite — it’s like having a database just for my book! But if you don’t have Scrivener you can still adapt this in Google Docs or in a folder on your desktop.
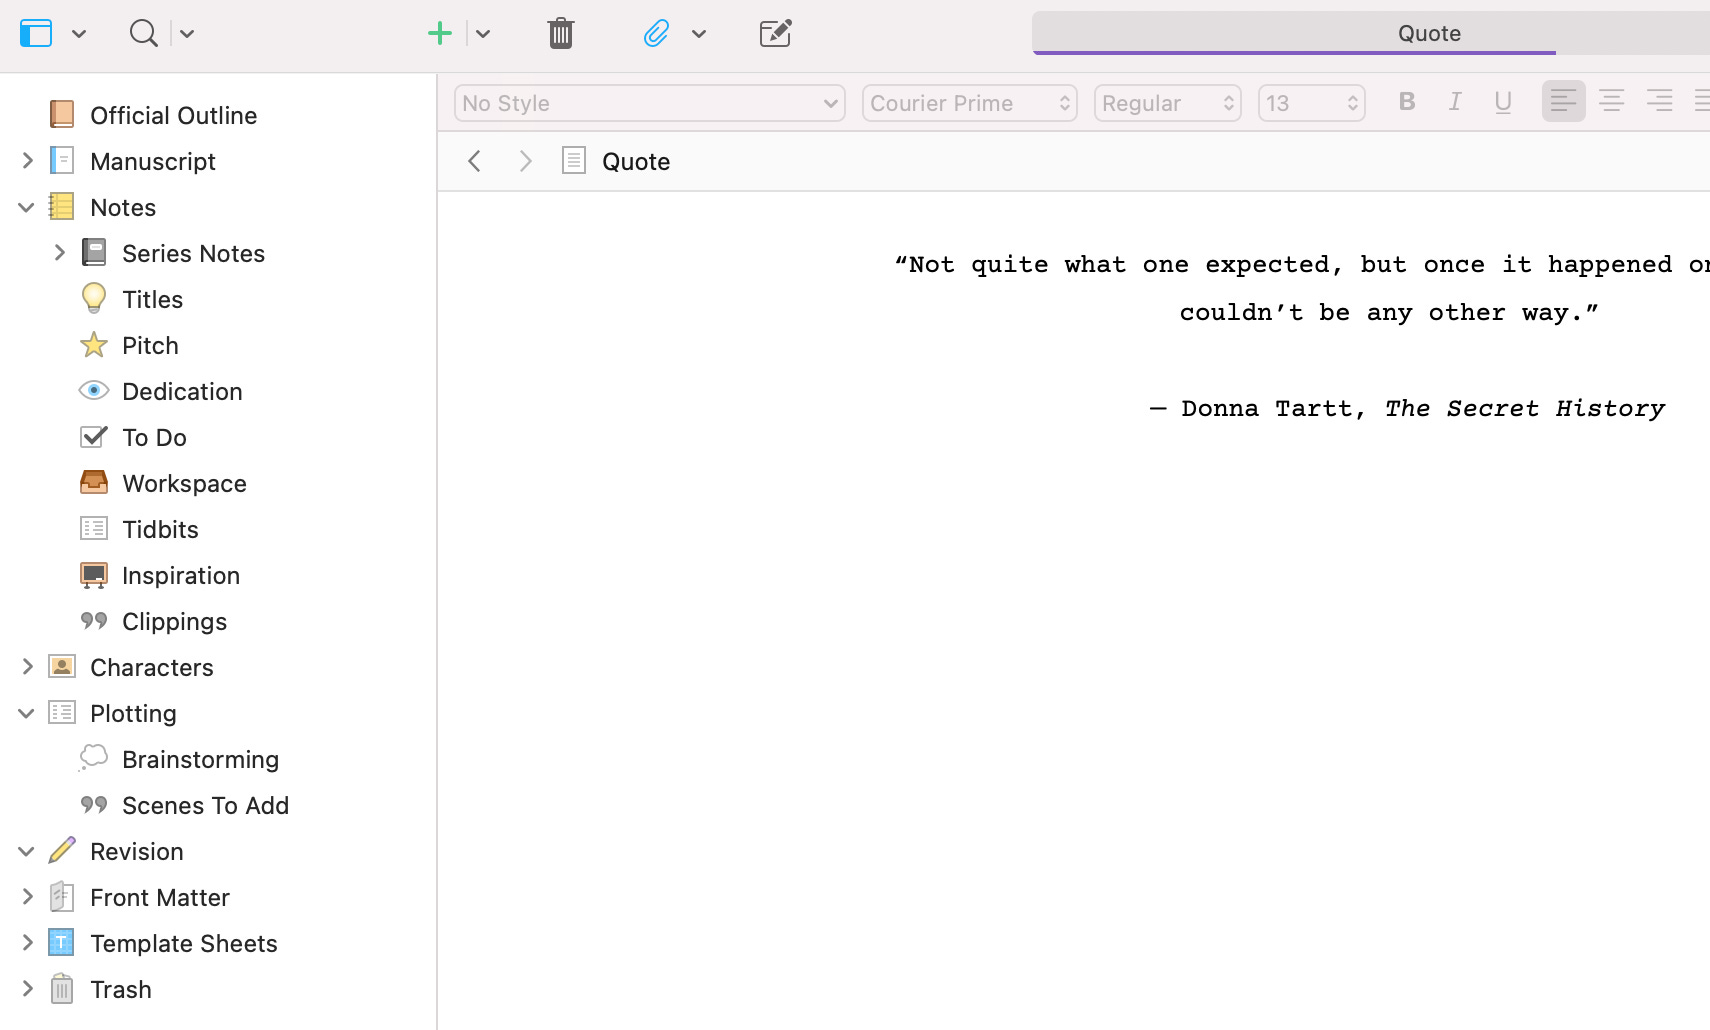
In the left column you can see the current files in my Scrivener document. At the top is the Offical Outline and then the actual manuscript file. Everything else is utilised for brainstorming, planning and note-taking.
Series Notes: this is a treasure trove of world-building, character development and magic system notes. I also use it for brainstorming and planning out future books, plot points and character arcs in the series.
Titles: for brainstorming titles for the book or any chapter headings.
Pitch: for developing the book’s short, meaningful and enticing pitch.
Dedication: for writing a book’s dedication (even though I’m not a published author, this feels like I’m manifesting for good things to come).
To-Do: for listing out everything I want/need to accomplish with the book’s current draft. This file gets continuously updated with each draft and revision I do.
Workspace: this is for note-taking when I’m actually writing my book. It just means I’m not jumping around my Scrivener document and distracting myself. I can move these notes into the appropriate files when I’ve finished writing for the day.
Tidbits: any important research, internet links and facts I’ve collected is here for easy access.
Inspiration: here I have a collection of aesthetic quotes, moodboards, playlist links and anything else that reminds me of my book. This way I don’t have to leave Scrivener and go onto Pinterest when I’m writing.
Clippings: if I remove something from the main manuscript file I place it here until I have space for it.
Characters: where I keep my detailed character profiles.
Brainstorming: this is my ginormous (often unorganised) brainstorming file that has out of context and messy notes, early inspiration, magic system ideas, world-building notes and anything else that comes to mind during the brainstorming phase.
Scenes to Add: a list of scenes I would love to include in my book.
Revisions: for everything I need during the revision process, such as my reverse outline and any notes for myself. (I don’t put anything in this file until I’m actually ready to start revisions.)
[This Scrivener document layout is inspired by Shelby Mahurin and an Instagram story she shared. However, I have adapted her structure to meet my needs and I encourage you to do the same.]
Step Two: Brainstorming File
No matter what sort of book I’m writing, I always start in my brainstorming file.
I start by writing out the reason why I’m writing this specific book and the themes I want to explore. Then I chaotically list out every little unhinged thought I have about the story, the characters, the world-building — absolutely anything that comes to mind in those early development stages.
Now, I’ll admit — this file is a mess. But it’s supposed to be! I never edit or censor myself when brainstorming, I want everything written down to be unfiltered. This is because I don’t know what’s going to be golden yet.
To help guide you in your brainstorming, here is a list of possible topics:
The major, overarching plot points
Subplots and minor plot points
Scenes you’re excited to write
Plot twists
Characters and their motivations
Character dynamics, including romance
Any dialogue or quotes that come to mind
World-building details
[If you struggle with the chaotic/messy nature of a brainstorming file, I suggest colour-coding your notes and then moving them into their colourised categories once you’ve finished.]
Step Three: Write the Pitch
Through the brainstorming process, I tend to gain a much better understanding of what I want my book to be about. So, it’s time to write my book’s pitch.
A pitch is a punchy, meaningful and short (1-2 sentence) description of the story. Think of it as a way to entice others to read your book.
[Remember that your pitch isn’t set in stone and is always subject to change. However, writing it before you start creating your outline or writing your first draft can provide you with some much needed direction and guidance.]
Step Four: Create Inspirational Resources
Now, this step isn’t vital by any means — it’s actually just super fun and perhaps a little self-indulgent. But I find it helps me narrow down my book’s aesthetic or overall vibe by creating a Pinterest board, a book playlist and/or some moodboards.
These resources help when I’m struggling with inspiration while writing or need to visualise something specific, like my characters or setting.
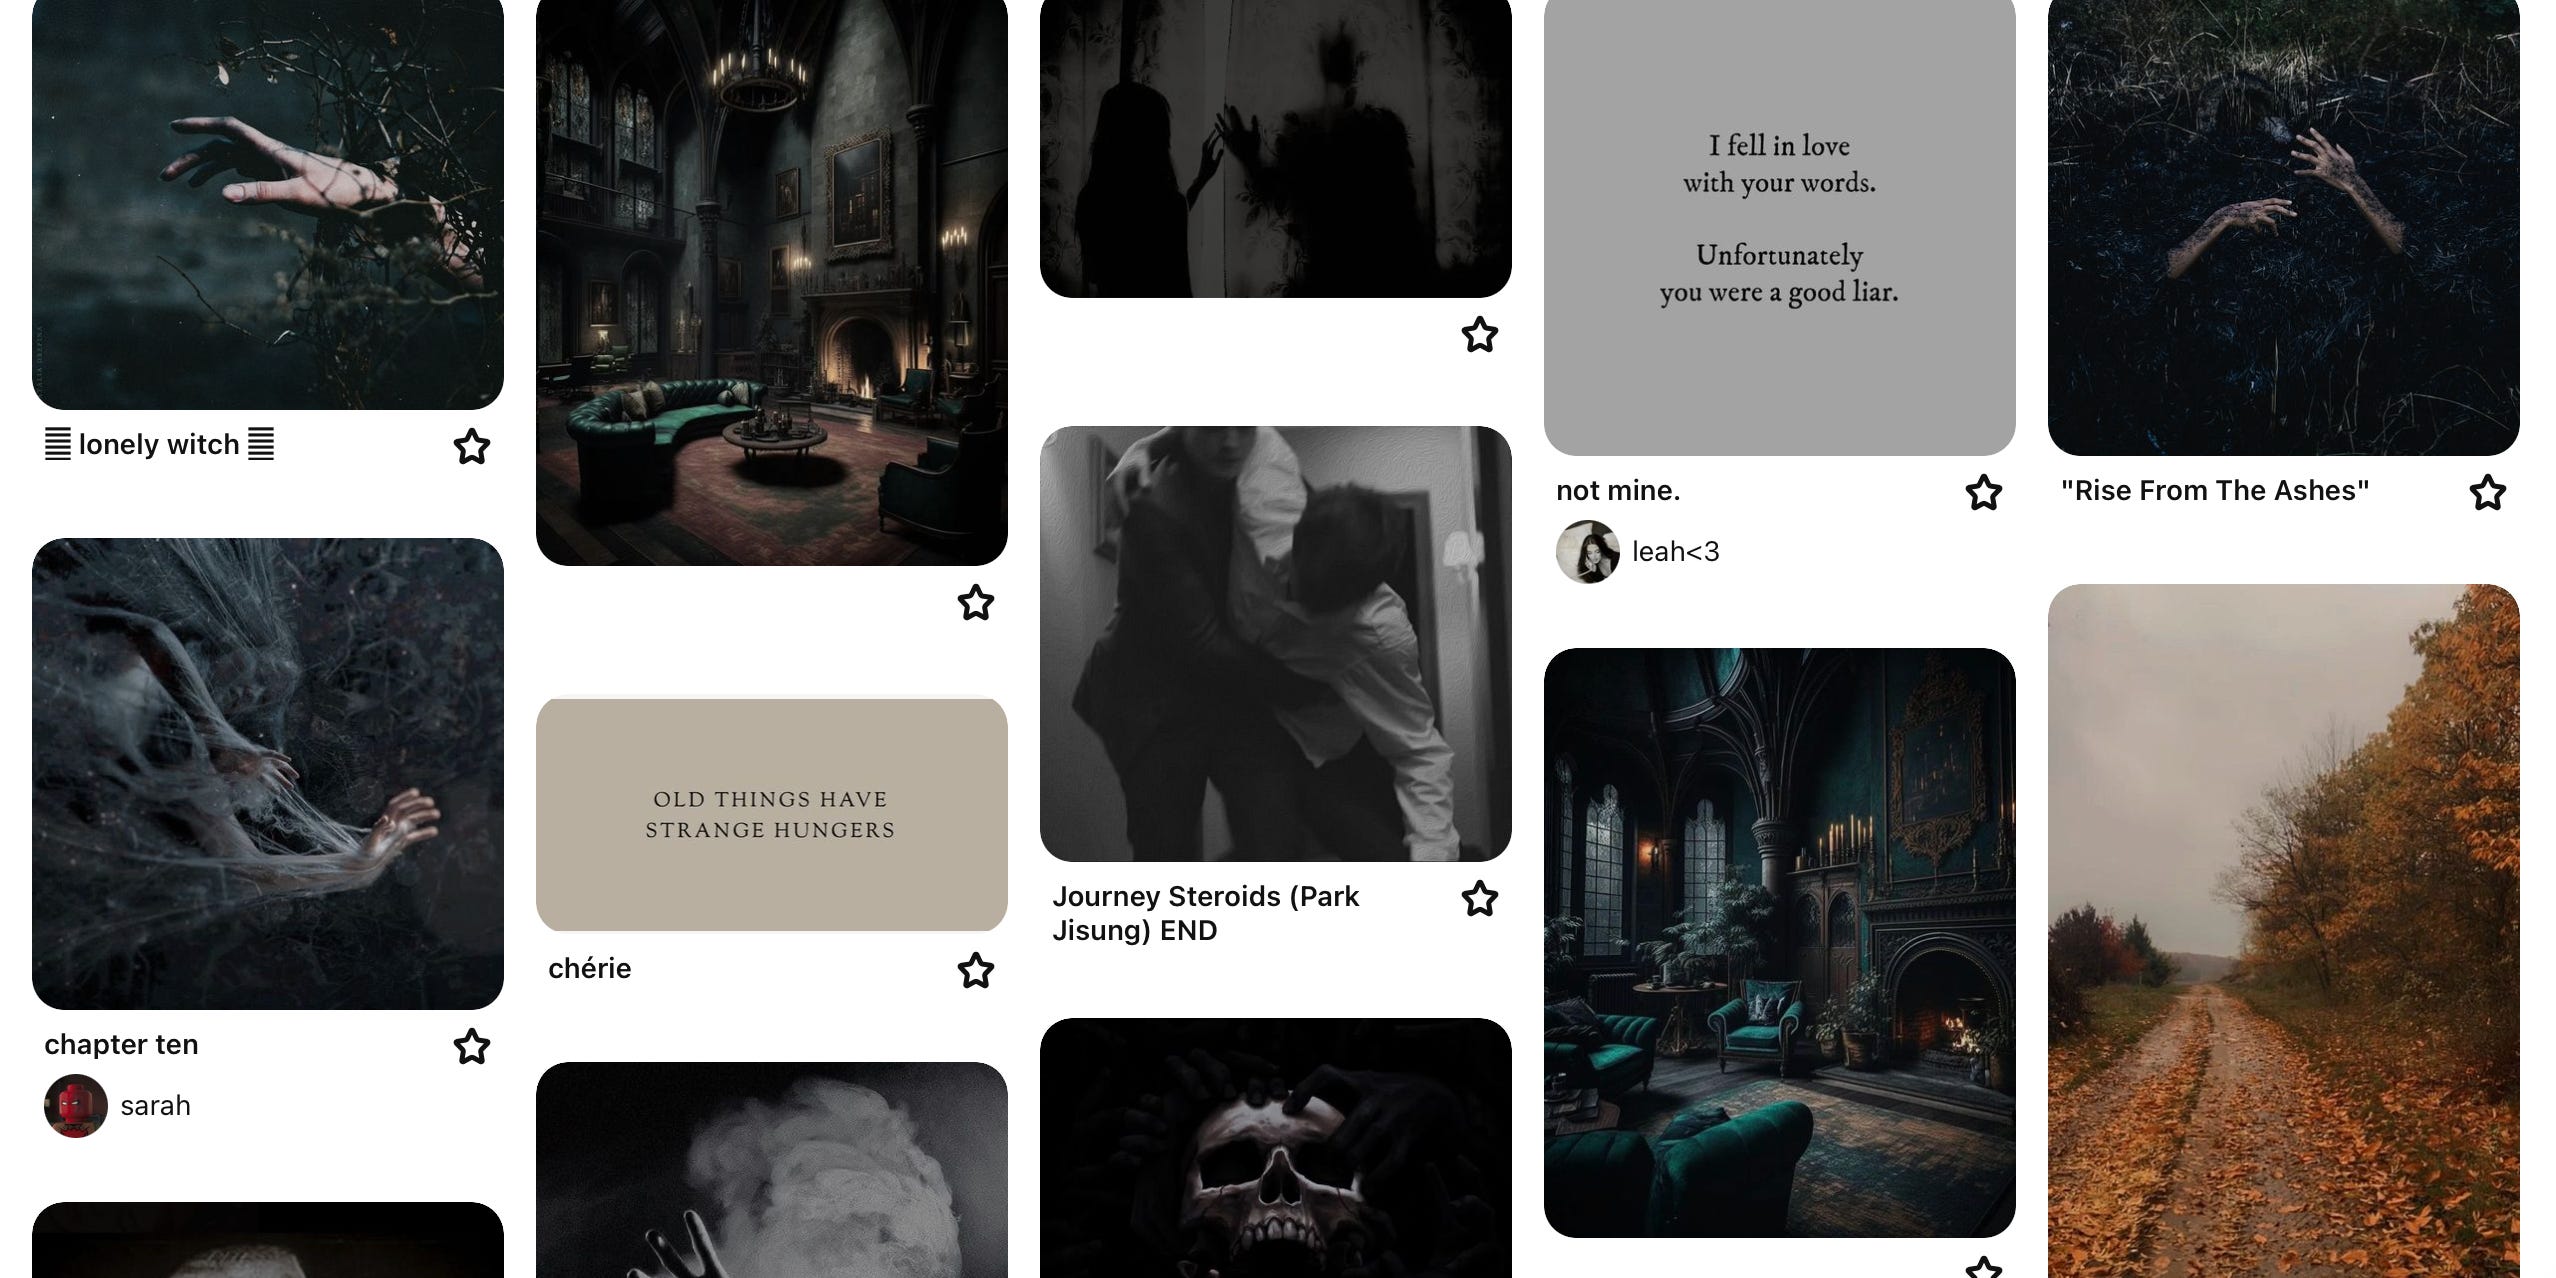
Pinterest boards: I create a Pinterest board for all of my books. Inside I like to collect pictures and quotes that best represent the book’s aesthetic, themes, characters and tropes. I also have more sections within my Pinterest board for each character (this helps me to better visualise them).
Spotify playlists: I also create a playlist with all the songs that resonate with the book’s vibes and themes. I like to make sure these songs also won’t distract me as I’m writing.
Moodboards: I don’t always create moodboards for my books, but I think this is a fun exercise if you want to explore your book and it’s themes, or your characters and their motivations, without actually writing. If you want to try this, save some images from Pinterest and create a moodboard in Canva.
[If creating these types of resources isn’t for you, don’t fear! This isn’t at all necessary for writing your book and you can skip if it doesn’t appeal to you.]
Step Five: Overall Story Outline
This has slowly evolved with every book I’ve written, but lately I’ve been using the Three Act Story structure to plot my books.
Abbie Emmons’s video “How to Use the 3 Act Story Structure” can help you understand how to plot a book with this kind of structure. She also has a detailed printable template sheet to help guide your plotting.
In the Official Outline file in my Scrivener document, I create headings for each Act and begin moving the plot points, notes and scene ideas from my brainstorming file into the appropriate order. I then spend time filling in the gaps, thinking of scene transitions and ensuring that every single scene has it’s place in the book.
I like to think of this step as my “draft zero”. It’s not unusual for my outlines to be roughly 10,000 words.
Step Six: Chapter By Chapter Outline
Once I have a detailed outline of my book, I begin turning it into a chapter by chapter outline. Scrivener has a notecard option that helps you do this seamlessly.
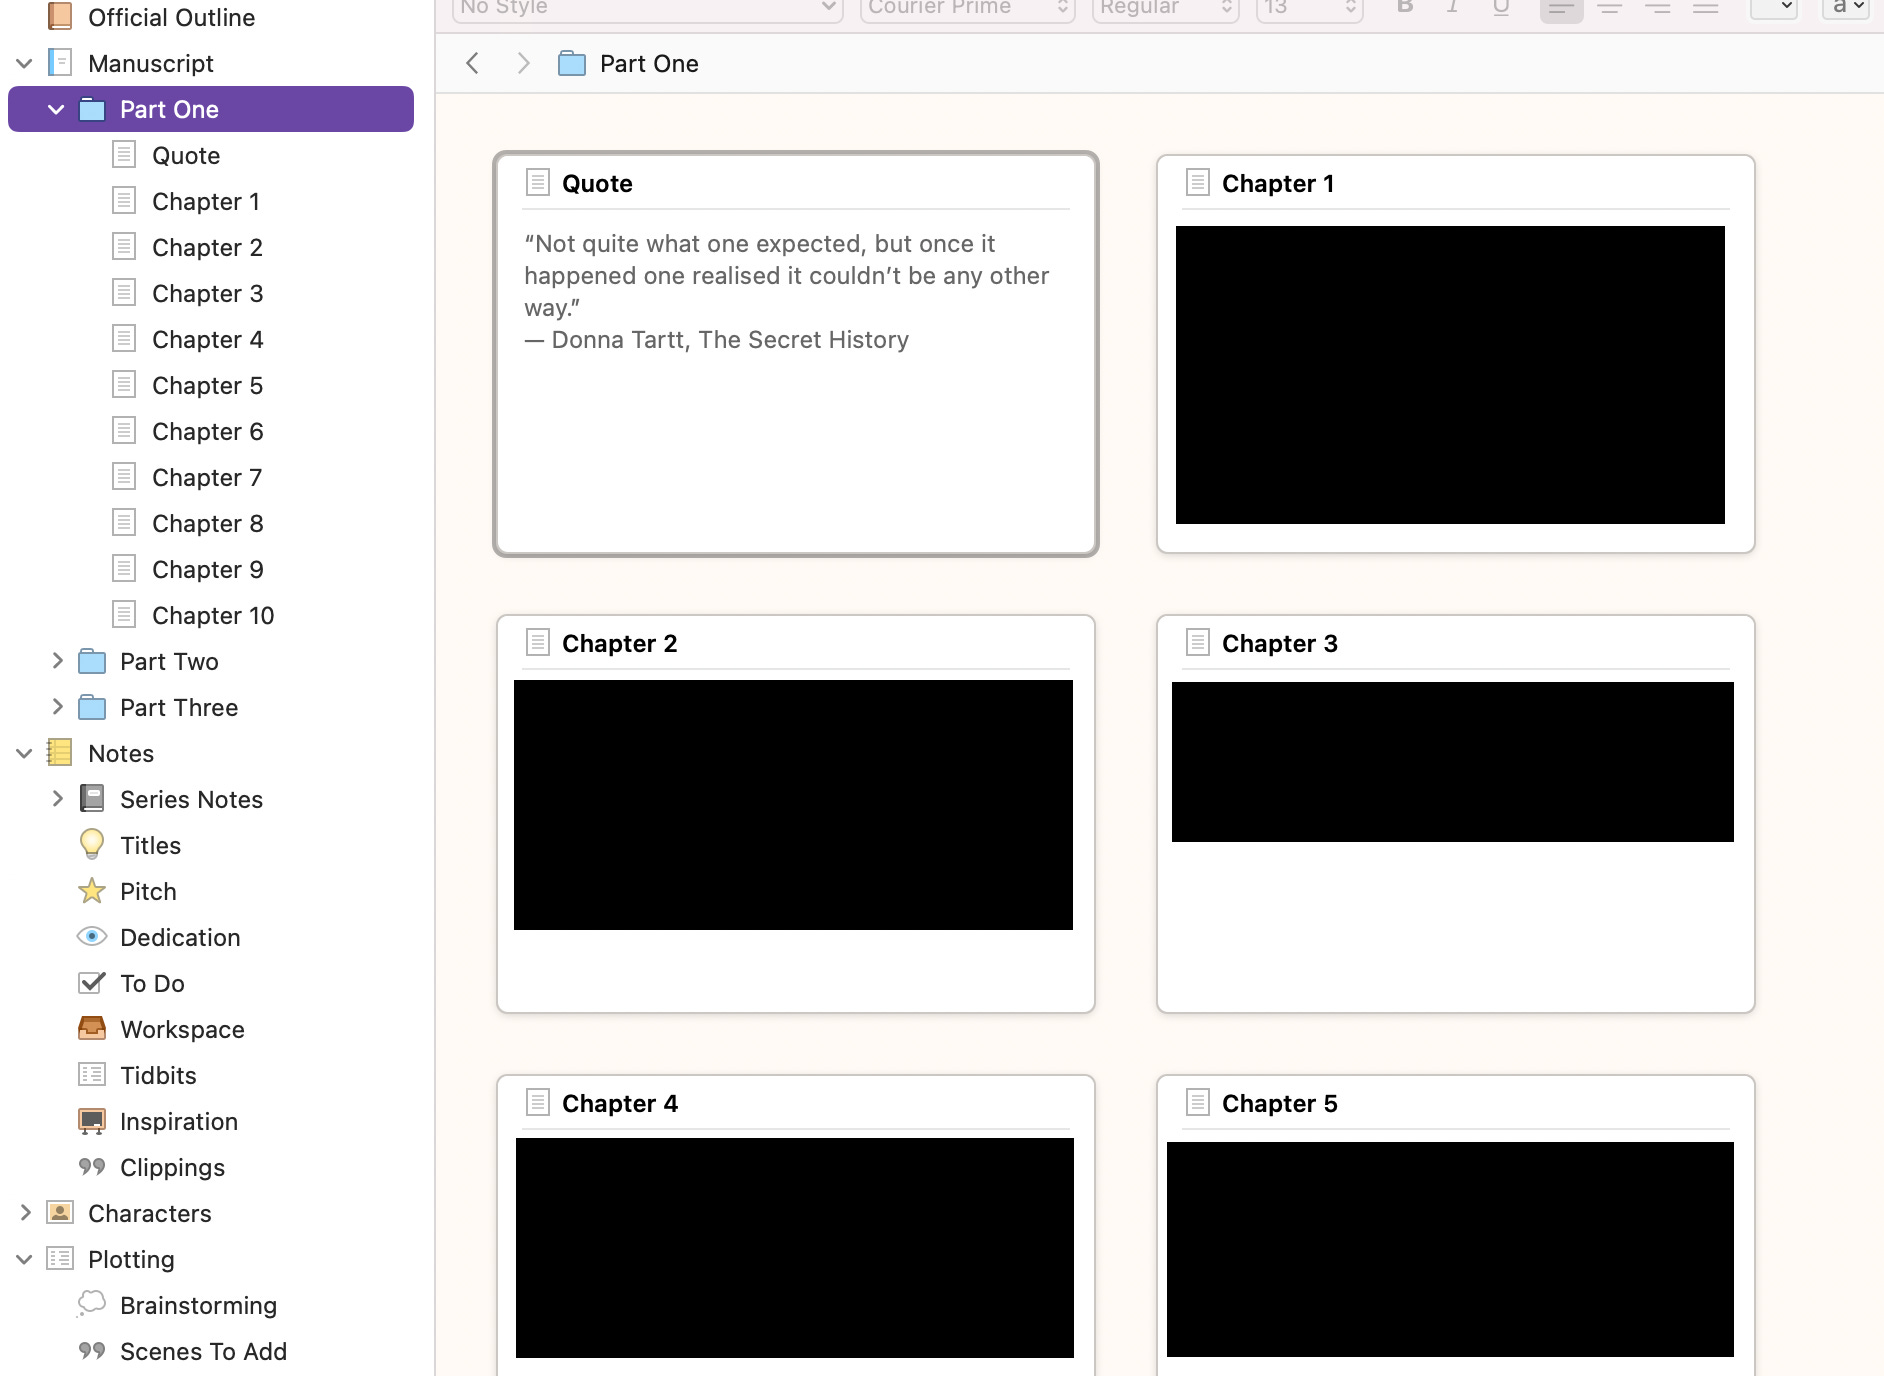
By creating a chapter by chapter outline I can see whether the flow of the story and the character arcs work before actually writing. I can also move things around to fit better or see if more scenes need to be added.
Personally, I find this step takes me very little time due to my detailed outline. If I knuckle down, I can finish it in a couple of hours/one day.
[If you don’t have Scrivener, you can always create tables in a Microsoft Word document. Alternatively, you can always do it the old fashioned way and use actual notecards to write on.]
Step Seven: Begin Writing
Now I’m ready to write!
If you’re anything like me (i.e. a perfectionist and a procrastinator) then it might feel daunting to just start writing the book you’ve worked so hard on. So here are some quick and easy tips to help get you started:
Stop thinking about the whole book and keep your focus to just finishing chapter one. Thinking too far ahead can make us feel paralysed before the process even begins.
Write yourself a mini list of the overarching themes of your story and your character(s)’s motivations. Keep this list somewhere you can always see it and let it guide you as you write.
Maximise your writing document so it’s full screen. This way you’re not tempted to procrastinate on internet browsers.
Try to romanticise your writing. Make yourself a coffee (or your preferred cosy beverage), turn on your book playlist and light a candle.
Put your phone far, far, far away from you. Remove any other temptations for procrastination.
Surround yourself with other things that inspire you. For example, your Pinterest board, similar books to your own, any printed artwork, etc.
And try to remind yourself of this brilliant Stephen King quote: “The scariest moment is always just before you start. After that, things can only get better.”
And that’s my drafting process!
Just remember that though writing a first draft can be emotional and messy — you’ve probably thought about giving up a hundred times, we’ve all been there! — it can also be incredibly magical to see the story, the characters and the world you imagined come to life.
To help make the whole process easier, work on learning how to embrace the imperfections of drafting. You can then just focus on the fun and excitement of writing the book that’s about to consume your very being. You can always make it better during rewrites!
Until next time,
- Madeline
I love learning how others approach their craft! Your creative process is strategic and detailed yet flexible and ripe for letting the “flow”, flow! Thanks for sharing ♥️
This is so amazing! I am finishing up my first draft and have been considering getting Scrivener! Good to see it recommended. I go into the first draft with no plot or anything - all I do is have an idea, do basic characters and an overarching plot, and make a Pinterest board and playlist. That is what works best for me! But I think I’ll do a reverse outline now that all my ideas are down.